Organizations invest heavily in a Learning Management System (LMS), expecting it to be the centralized, streamlined backbone of their training programs. But as learning programs mature, frustrations often arise around rigid reporting, siloed data, integration headaches and more. When these frustrations reach a boiling point, organizations decide it is time to switch systems.
While migrating learner records is difficult in itself, migrating your actual content is often where the real struggle begins.
There are generally two ways to handle a content migration. The first is the traditional, manual approach. A heavy lift that requires auditing, hunting down files and republishing courses to ensure compatibility. The second approach uses a centralized content hub to bypass the heavy lifting entirely, turning a massive project into simply repointing your training files to a new location.
Here is a practical guide to getting your content ready for an LMS migration, covering both methods to help you tackle your current move. This centralized approach is especially valuable if you introduce another LMS into your organization’s ecosystem in the future, as all your content will already be in one centrally hosted location.
Method 1: The traditional content migration
If your content currently lives entirely within your legacy LMS, you have a manual migration ahead of you. Moving between systems is rarely as simple as exporting a ZIP file from System A and uploading it to System B. Here are the 6 steps you will need to ensure there are no broken courses or data loss.
Step 1: Conduct a content audit
Before you move a single byte of data, you need to know exactly what you have. Pull a report from your current LMS and look at the usage metrics. Which courses haven’t been launched in the last 12 months? Do you have five different, outdated versions of the same compliance training? Archive the old, consolidate the duplicates and build a master list of the courses that actually need to make the jump.
Step 2: Track down your source files
You cannot always rely on the published SCORM or xAPI packages currently sitting in your LMS. You will likely need the original source files (Articulate Storyline, Adobe Captivate, Lectora, etc., files built in an authoring tool).
Start hunting these down early. Ask yourself:
- Who owns this content? Reach out to the original instructional designers or subject matter experts (SMEs).
- Where are they hosted? Check shared company drives, SharePoint or contact third-party vendors who built the courses.
- Are there new versions? Verify that the source file you found is actually the final version that matches what is currently live in the LMS.
- Which authoring tool was used? Ask for access to the authoring tool that was used to publish the course as often you can’t change the standard from the output alone.
Step 3: Optimize and republish for the new system
Different LMS platforms interpret eLearning standards differently. You must optimize your courses to match the technical constraints of your new system.
This is where understanding eLearning standards, such as SCORM, xAPI, cmi5, LTI and AICC, becomes critical.
For example, what happens if your old LMS supported SCORM 2004 4th Edition, but your new LMS only reliably supports SCORM 1.2?
- What you lose: SCORM 1.2 limits interaction data and doesn’t support sequencing that’s native to SCORM 2004. So you’ll lose detailed question and answer interactions. Learn more about SCORM 1.2 vs SCORM 2004.
- What you need to change: You will need to access the authoring tool, open your source files in it, adjust the publish settings to SCORM 1.2 and potentially redesign the course to rely less on heavy interaction data so learners do not lose their bookmarks.
Step 4: Clean up your tagging, skills and metadata
Do not migrate a messy taxonomy into a brand-new system. Take the time to standardize your tagging structure, skill mappings and metadata before importing courses. If your old system categorized courses vaguely as “HR Training,” map them to the keywords, specific skills or job roles required in the new LMS architecture. Righting these wrongs now prevents your new LMS from becoming disorganized.
Step 5: Strategize for multilingual content
If you are a global organization, evaluate how your multilingual content is organized. How does the new LMS handle localized versions of a course? Some platforms require you to upload separate packages for each language, such as English, Spanish and French, forcing you to use complicated folder structures to keep them organized. Others might support single-course equivalents. Ensure all localized packages are clearly accessible and formatted to match the new system’s presentation style.
Step 6: Test everything in the new environment
Never assume that a package that worked flawlessly in your old LMS will behave the exact same way in a new one. Take a handful of your most complex courses and test them in the new LMS sandbox (or use SCORM Cloud as a neutral testing ground). Ensure that bookmarks save, quiz scores pass accurately and completion statuses register exactly as expected.

Method 2: The centralized approach using Content Controller
What if you didn’t have to track down source files, worry about metadata mapping or republish every single course to accommodate a new LMS’s standards limitations?
If you use Content Controller to supplement your LMS, this alternative approach requires significantly fewer steps and is less cumbersome.
Instead of uploading your actual SCORM, xAPI or cmi5 files into the LMS, you upload them into Content Controller, which acts as a central hub for all training courses, content and reporting data. Content Controller then generates a tiny “proxy” shell package (a dispatch file) that you upload to the LMS. When a learner clicks launch in the LMS, the course plays seamlessly from Content Controller.
If your content already lives in Content Controller, migrating to a new LMS is much easier, avoiding several steps of the traditional method. Your migration simply looks like this:
- Share from Content Controller: Select your active course versions or equivalents (multi-language courses packaged into one file) in Content Controller and generate a new batch of proxy dispatch files in the preferred eLearning standard tailored for the new LMS.
- Test in the new tool: Upload the proxy files to the new LMS and run a quick launch test. Because Content Controller handles the actual standards playback (handling the SCORM 2004 vs 1.2 translation behind the scenes), you do not have to republish your source files or worry about lost interaction data.
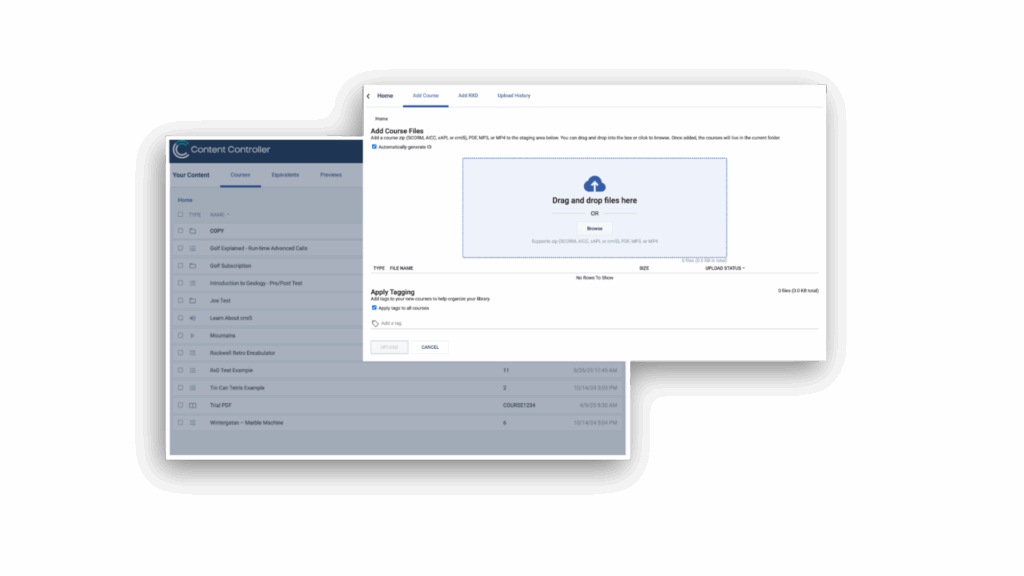
Please keep in mind that Content Controller may not be as helpful with an immediate migration. The benefits of Content Controller, whether in or out of a transition, are truly realized when it becomes a central hub that shares to all the systems where your content lives. If you are migrating today without Content Controller, you may have to do the manual burdensome process outlined in Method 1.
That’s why adopting Content Controller now, before your next migration, will future-proof your content and cut the process in half. Your team will be able to reduce roadblocks when it comes to tracking down source files, figuring out which is the current version, testing in separate tools, reworking metadata or worrying about standard compatibility. You just update your content in one place, and it works everywhere.
Whether you are preparing for a manual migration right now or trying to avoid one entirely in the future, getting your content strategy right is the first step. If you want to talk about how to centralize your content and/or supplement an LMS, reach out to us. We’re always here to help.